How To Use Custom Modifiers
What are custom modifiers?
Custom modifiers are snippets of Css that alter the look and design of your website. There are pre-defined modifiers that can be added to your site, and as well you may write your own custom modifiers using Css. How to do both will be described in this article.
Adding pre-defined modifiers
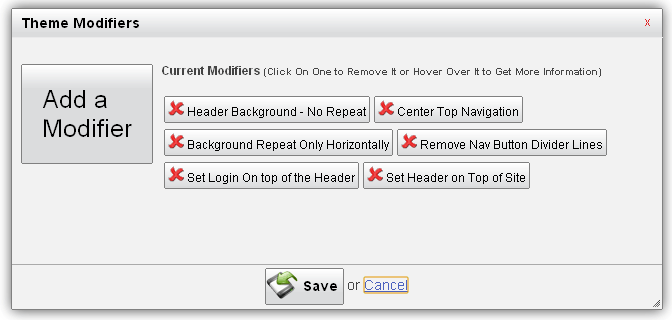
There is already a list of modifiers available for you to use on your site. They can be added by clicking on manage site, appearance, customize, theme modifiers. You'll see something similar to the image below:

To add new modifiers click on the "Add a Modifier" button and select which ones you like. To the right of the "Add a Modifier" button is a list of the modifiers you currently have active in use on your site. If there isn't any, you aren't using any yet. You can hover over your listed modifiers to see a description of what each does. Take note of how these modifiers are displayed, and the hover description. We will be referring back to this in a moment while referencing advanced custom modifiers. You'll be shown how to make your own modifiers that will appear in the theme modifier box as they do above.
Adding advanced custom modifiers
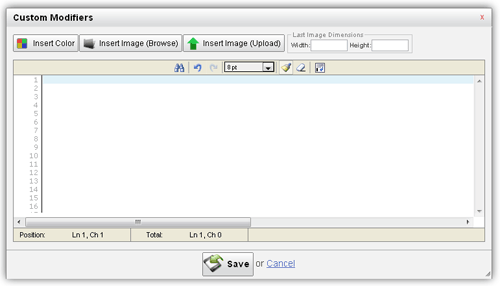
Advanced custom modifiers are modifiers that you write yourself using Css. You can add your own custom modifiers by clicking on manage site, appearance, advanced, and then custom modifiers. You should then be looking at a box like the one below.

In this box, you'll enter the Css that you want to add to your site. When adding the Css, you can use a name and description syntax that will make the modifier appear as the rest of your predefined modifiers do like in the first image of this article. The syntax is below:
/*My Modifier's Name||This is it's Description*/
So the beginning defines the name you see on the button for your modifier, and the description is what you will see when you hover over that button.
Once you have a name and description for your modifier, you'll need to add the Css. I'll give an example of a completed modifer so you'll know what it should look like. In the example, the modifier will make the links on your site all display as bold text.
/*All Links Bold||This makes all links on the site be bold*/
a {font-weight: bold;}
So in the case of the modifier above, the name for the modifier will be "All Links Bold". If you were to hover over that modifier in your list of modifiers, it will display the description of "This makes all links on the site be bold".
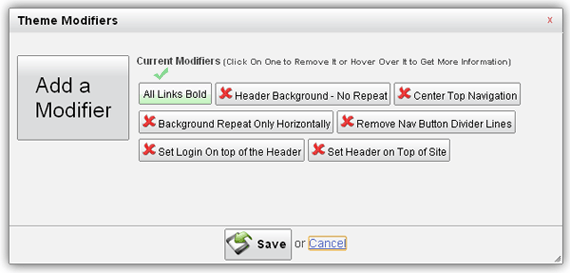
By following the directions above I've made my own modifier that will display in my list of custom modifiers. The one that I created is shown in the image below. It has the green check mark by it.

As you can see, the title for my modifier has shown up on the button, and it's included now in my list of in use modifiers. You'll also notice it does not have a red X, and this means that it's one of the modifiers I've created on my own, and not one of the predefined modifiers I selected from the default list. Clicking on any modifier will give you the option to disable or delete it. If you chose one of the two, be sure to click save.
Custom modifiers can be as simple or advanced as you want to make them. The one I've shown as an example is very basic. The more Css you know the better.
Enjoy!
| Author: | Randy |
| Published: | Mar 29th 2012 |
| Modified: | Mar 29th 2012 |